User manual
0. Requirements
For BlueDuck.SRC to work is needed:
- Java - Required to use Selenium Server
- Add to the PATH environment system variable the path to Java.exe
Without these requirements BlueDuck.SRC will not be able to start Selenium Server
1. Instalation
BlueDuck.SRC installation is easy, simply perform the following steps:
- Download BlueDuck.SRC from SourceForge
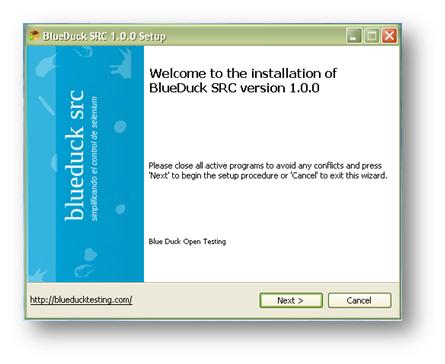
- To start the installation run the installer BlueDuckSRC.exe
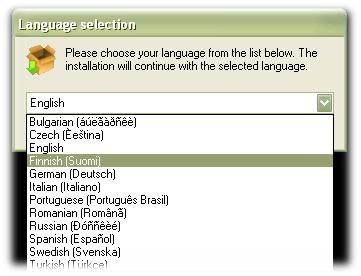
- Select the language to be used during the installation process
- Press Next > button
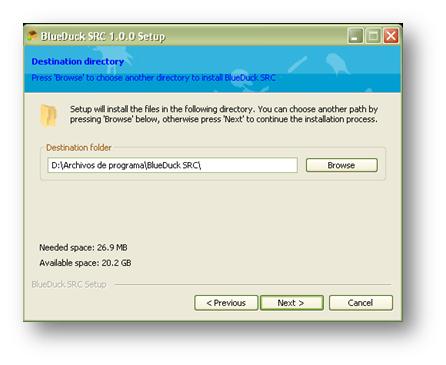
- Once the licence agreement accepted and read the change log (both presented during the instalation proccess) ,choose the directory where to install the aplication and press Next
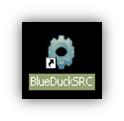
- Done!!!, we have installed BlueDuck.SRC, to run it ,just click on the access to the application directory created on the desktop.

2. Starting the server
When BlueDuck.SRC starts, Selenium server is automatically run. The user is alerted about this with the following message:

At this point we are ready to begin to execute test cases with Selenium Server!!!
BlueDuck.SRC stays on the Windows system tray. Right click over the application icon to show the menu to access the options:
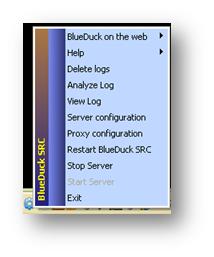
To stop the server select the option Stop Server
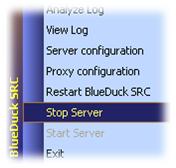
Conditions checked when starting the server
There are some situations in which Selenium server would not , those situations are:
- Java is not installed on the computer: Selenium Server needs Java to run. If you do not have java installed on your computer, you can download it and install it.
- The port that Selenium needs is in use. By default, Selenium Server needs port 4444. If there is any other application using this port, Selenium Server would not start. To fix this issue,you will need to modify the port used by the Selenium Server (check configuration) or close the application that is running on that port.
- BlueDuck.SRC is already running Only one instance of the application can be run .
BlueDuck.SRC notifies the user of any of the above situations so actions can be taken to correct them.
Verify server status
To verify the server status at any given time ( if it is running or not), simply press the following key combination:Shift + Alt + S. A message will be displayed notifying the server status:

Updating Selenium Server
BlueDuck.SRC includes Selenium Server(version 1.0.3) on its installation. The server remains on theServer's sub-directory of the install directory. If we need to replace the Selenium Server with another version, we only need to substitute the corresponding files on the Server directory and with this simple step the new version of the Selenium Server becomes available.
3. Server configuration
It is possible to configure a set of option that modify the behaviour of the Selenium Server.
The options configurable trought BlueDuck.SRC are:
- Port:
Stablishs the port used by the server. By default it is 4444 - TimeOut:
Time waited expecting the response for a command - Forced Browser Mode:
Stablishes the default browser for all the sessions which will be started. - User Extensions:
Loads the file user_extensions.js - Browser Session Reuse:
Stops re-initialization and spawning of the browser between tests. - Avoid Proxy:
By default, Selenium is a proxy between each browser request. Use this value in order for the browser to use Selenium proxy just for the url that contain '/selenium-server'. - Firefox Profile Template:
Usually between runs a new Firefox profile is generated. You can specify instead the plugins directory. - Debug:
Sets the debug mode, showing more values to diagnose issues on screen(default 4444) - Browser Side Log:
Enables logging on the browser side; logging messages will be transmitted to the server. This can affect performance. - Ensure Clean Session:
If there are no user profiles on the browser, use this settiong to assure sessions do not load data from previous sessions.For example, if you activate this setting all the cookies will be saved before satrting IE and restored when closed. - Trust All SSL Certificates:
Forces Selenium Server to trus in all SSL certificates. - Don’t Inject Regex:
Regular expresions used in URLs to jump Inyection Proxy Mode. - Proxy Injection Mode:
Sets the server on Inyection Proxy Mode, in witch Selenium Server acts like a proxy for all the content unser the test. In this mode, many domains can be visited and the following optional values are supported : - User Js Injection:
Specifies a JavaScript file that will be inserted on each page. - User Content Transformation:
Regular expression that matches againgts all HTML test;the second string is the one that will replace each occurence .
You can find more information about Selenium Server configuration here
To modify the values of this options,go to the option Server Configuration on the menu
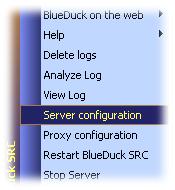
A window will be displayed, in which we will be setting all the values of the options of Selenium server:
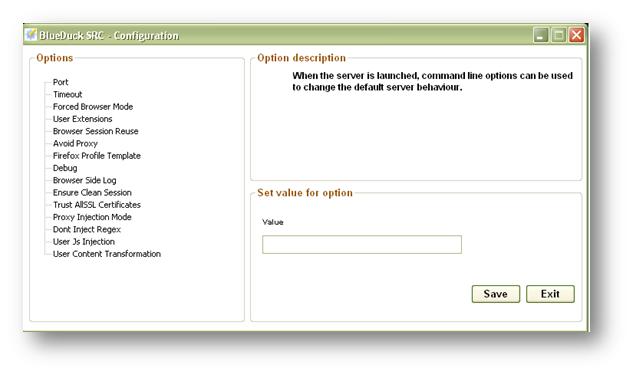
To modify a value , select the option, type de value on the field Value y press the Save button.
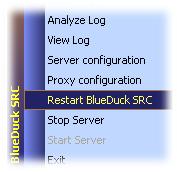
To apply all the changes we need to restart the application BlueDuck.SRC; to do so, we go to the menu, and select the option Restart BlueDuck.SRC
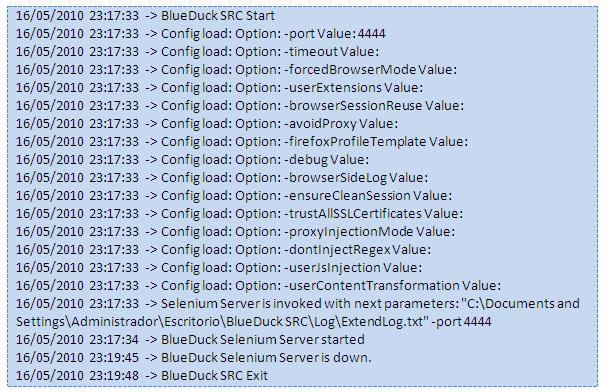
BlueDuck.SRC has a log , called StateLog.txt were actions performed over the server are saved. This log is saved by default under the Log directory created during the instalation in the main directory of BlueDuck.SRC. You can check on this log the configuration of the server when it was started:
4. Configure connection trhougth proxy
If you need to authenticate trought an HTTP proxy to perform test over an application,the conetions settings can be stablish using the proxy configuration option.

In the displayed window we need to set the following parameters:
- Proxy Host
- Proxy User
- Proxy Password
- Proxy Port
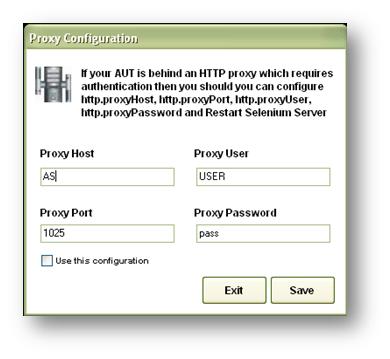
Save the configured data by pressing Save button. To apply all the changes we need to restart the applicationBlueDuck.SRC; to do so, we go to the menu, and select the option Restart
5. Log monitor
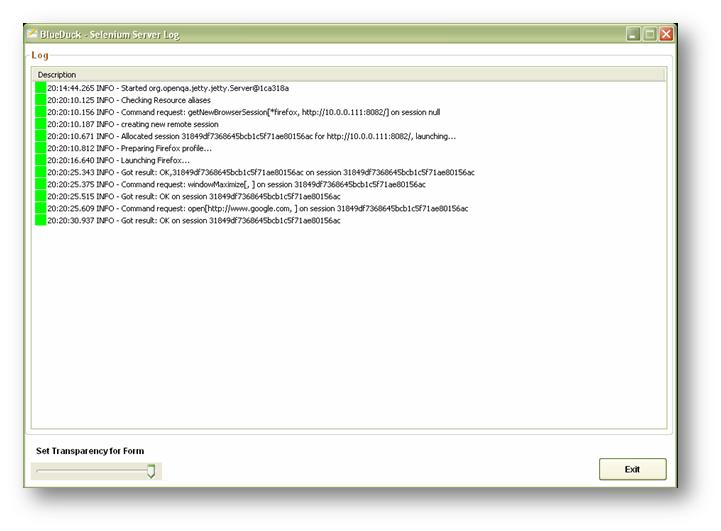
By default, Selenium server records all petiotions done to it.BlueDuck.SRC allows to visualize those entries on the log in a graphic way with the option menu View Log
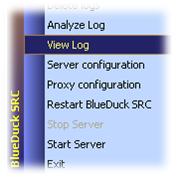
On screen we can observe the records the Selenium Servers generates. If in any line of the log an error occurs (for example: command not found) then at the beginning of the line a box in red is shown.
6. Analize the Log
Once the cases execution is done, or in the middle of a case execution, searches on the log can be performed and those results saved.To display the window for Log analisys select the option menu Analyze Log

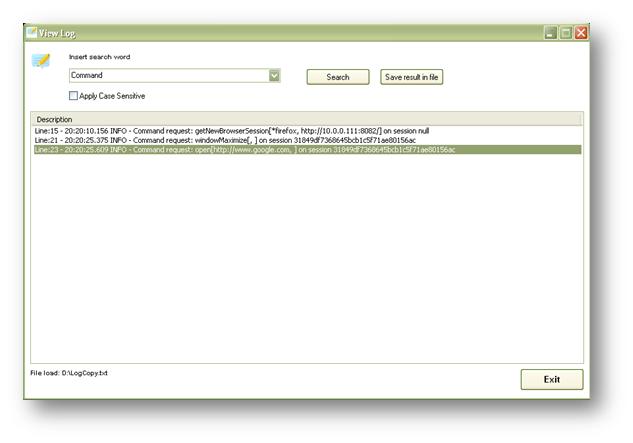
The last log (or the current log if the server is running) is loaded .
Type the word to search on the combo Search Word, or select an option (it is loaded with the more common searches)and press Search button. On the screen will be displayed all the lines on the log that match the searched word.
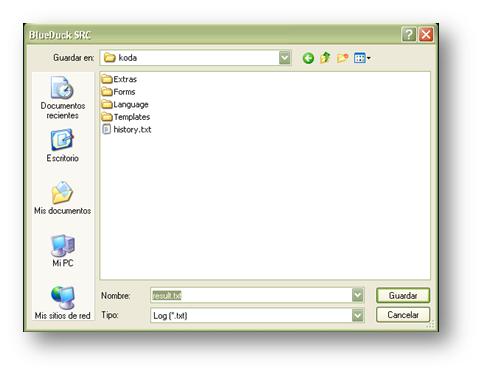
We can save to a file a search results by pressing Save result in file button and typing on the dialog message the name and directory where the file will be saved.
7. Extended log
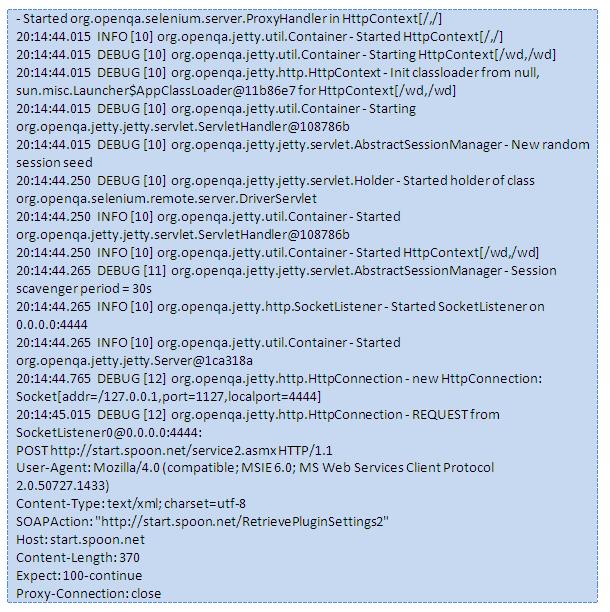
BlueDuck.SRC starts the Selenium Server with a default configuration that allows it to generate a log more detailed than the conventional log. This log file is called ExtendLog.txt and it resides on the Log directory created during install , inside the BlueDuck.SRC directory. Every petition done to server and it response is recorded. For further analisys this is the file to go to.
Detail of a log record file ExtendLog.txt
8. Deleting logs
You can eliminate logs that are not been used by BlueDuck.SRC by selecting the option in the menu Deleted Log.
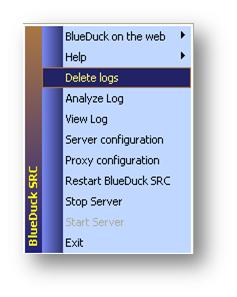
When the option is selected a message asking for confimation to delete the logs will be displayed; if you decide to confirm, the files will be deleted. Otherwise, no log file will be deleted.
 Formato PDF
 English
 Spanish
 Twitter
 Group
Group AutoIt
 Selenium RC
 BlueDuck
 GPL
GPL